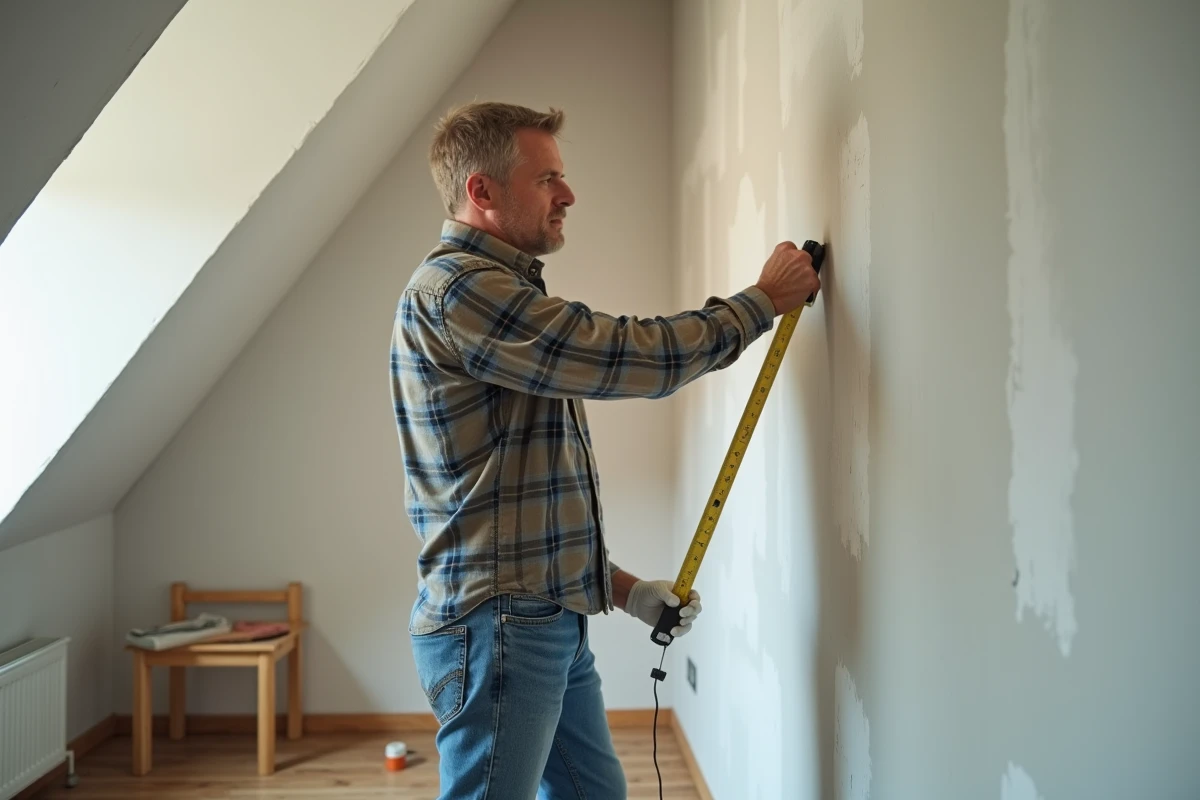
A sloped wall cannot be confined to the boxes of classic calculations. Ready-made formulas falter as soon as geometry escapes the straight line, and the slightest oversight of an angle can turn a quote into a trap. The discrepancies between actual surface and apparent surface can sometimes be bewildering, especially when the construction site stretches out or when material quantities spiral. Automatic calculators are appealing for their speed, but the accuracy of their results always depends on the precision of your measurements and the parameters entered. As for traditional methods, they require a bit more attention if you aim to be precise.
Understanding the basics of surface calculation in m2 for all types of walls
No secret: the surface of a wall in m2 is calculated by multiplying the length by the height. This principle seems clear-cut, but a construction site spares no approximation, and the slightest irregularity can lead to discrepancies in your quotes. Behind the simplicity of the equation, every detail matters, from a poorly measured projection to an omitted window.
We are talking here about wall surface, expressed in square meters, used for work estimates, paint orders, or the application of the Carrez law. But the reality on the ground is stubborn: this figure does not always align with the living area, usable area, or ground area. Between slopes, narrow corners, or partitions, each context imposes its own little gymnastics and can increase costs, or even waste precious time during measurements or appointments with craftsmen.
Before any operation, list each opening precisely: doors, windows, sliding glass doors. Their dimensions must be recorded to be deducted later from the total wall surface. This precaution avoids many unpleasant surprises during paint or covering purchases. Rooms under the eaves, where the slope comes into play, require a specific approach since the triangular surface is not calculated like a straight wall. If you are looking for a proven method and tailored advice, the following link details the steps, tips, and examples to know for calculating the surface of a wall in m2.
How to approach a sloped wall or an irregular surface?
Once faced with a sloped wall, the habit of direct multiplication quickly shows its limits. When geometry strays from the rectangle, a new strategy is required. Start by measuring the length on the ground and the maximum height of the wall: two values that will serve as a starting point for your calculation.
To clarify the method in case of a slope, here are the steps to follow:
- the rectangular zone (the straight and vertical part of the wall),
- the triangular part (the sloped area under the incline).
Break down the complex wall into distinct zones to ensure nothing is overlooked:
Then calculate each surface separately. The rectangular zone: width multiplied by height. The triangular zone: apply the formula (base x height) / 2. Add the two values to obtain the total surface area of the wall. This method is equally effective for sloped ceilings or attics where each cut must be precisely measured.
When faced with a wall of irregular geometry, even rudimentary, a sketch helps to clearly delineate each sector. Identify and note all openings (doors, windows, skylights) and deduct their surface for a reliable calculation. Only rigorous measurement ensures you avoid discrepancies and obtain an accurate estimate, both for materials and for time of execution.
This logic applies to calculating triangular surface or for a wall with a straight base, regardless of the age or style of the construction.

Practical tools and tips to improve the accuracy of your measurements
To ensure a reliable estimate, the quality of measurements takes precedence over everything else. As soon as angles add up or the slope complicates the work, the tape measure quickly shows its limits. At this stage, a laser distance meter becomes a valuable ally: it allows for highly accurate measurements, even of hard-to-reach heights. Saving time and minimizing errors becomes possible without sacrificing reliability.
It is advisable to check each measurement and carefully record all dimensions. A tiny error can distort the entire wall surface calculation and disrupt your material forecast, whether for renovation, painting, or installing coverings. If the room has variations in the floor or under the roof, take multiple measurement points: caution always pays off more than a hasty calculation.
To keep track of your measurements, even a quickly drawn diagram is useful. Mention all openings (doors and windows), note the dimensions of each section of the wall. Some mobile applications offer the possibility to instantly enter this data and estimate, for example, the surface to be painted or the amount of wallpaper needed. To avoid running out of supplies, consider the number of coats or losses related to cuts, even minimal ones.
One well-taken measurement can be enough to balance your project. Between the rigor of calculations and suitable tools, the success of a construction project stems from this initial precision, long before opening a can of paint or the first delivery of materials. Let’s bet on the right number rather than chance: the entire outcome of the project depends on it.